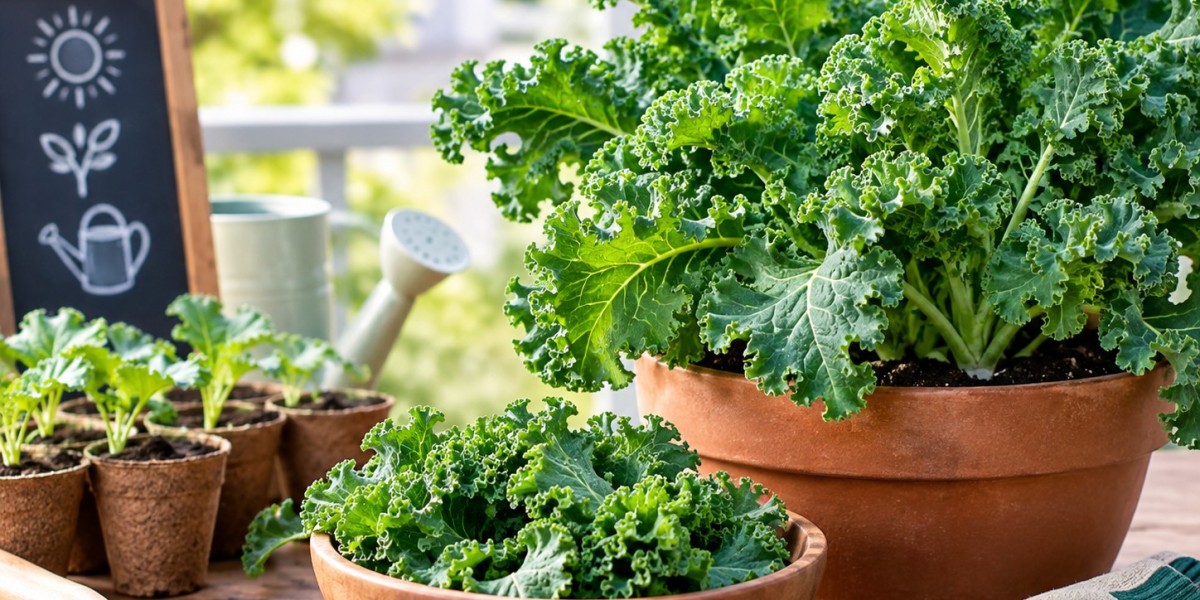

Kale really is one of those garden greens that pays you back big time. It’s packed with nutrients and pretty easy to grow, even if you’re just getting started. This tough, cold-loving plant doesn’t mind frosty nights or less-than-ideal weather, and you don’t need a huge backyard, either; a raised bed or a deep container works fine.
Whether you’re into curly kale, Lacinato (that’s the tall, dark “dinosaur” kind), or a more classic variety, you’ll have good luck if you give it enough sunlight, the right soil, and a little attention.
When and Where to Plant Kale
A Kale plant likes cool weather best, so your timing matters. Aim for early spring, planting seeds or transplanting seedlings a few weeks before your last frost. For fall and winter kale, get your seeds in by late summer.
Pick a spot that gets plenty of sun. Kale loves about six hours of direct light, but unlike a lot of veggies, it doesn’t sulk in partial shade, especially if summer is hotter than you expected.
Getting the Soil Ready
Good soil grows good kale. Shovel in compost or well-rotted manure before you plant, digging down six to eight inches. You want loosened soil that holds moisture but drains well. Shoot for a pH between around 6 and 7.5, neutral to just a bit acidic.
Planting Kale
Drop seeds a quarter to half an inch deep, with just about an inch between them. Once seedlings sprout and you spot a few real leaves, thin them out so each kale plant has 12 to 18 inches of personal space. That way, they don’t crowd each other, and they’ll breathe easier. For transplants, the same spacing works; let them stand 12 to 18 inches apart, set in rows about two feet away from each other.
Caring for Your Plants
Kale isn’t too fussy, but it appreciates steady moisture. Give your plants about an inch to an inch and a half of water each week so the top inch of soil stays damp (but don’t let them sit in soggy dirt or the roots might rot).
Mulch helps a ton here. Lay down a two-inch blanket of straw or shredded leaves to keep weeds down, lock in moisture, and cool off the roots. Feed your kale with a nitrogen-rich organic fertilizer every few weeks. This encourages tender, leafy growth all season long.
Harvesting Kale
You’ll know your kale is ready when leaves are about as big as your hand, usually 50 to 65 days after planting. Cut the oldest, outer leaves near the main stem, but leave the center growing tip alone so the plant keeps making new leaves. This “take what you need” approach keeps your harvest coming for months.
Source: Abodelook