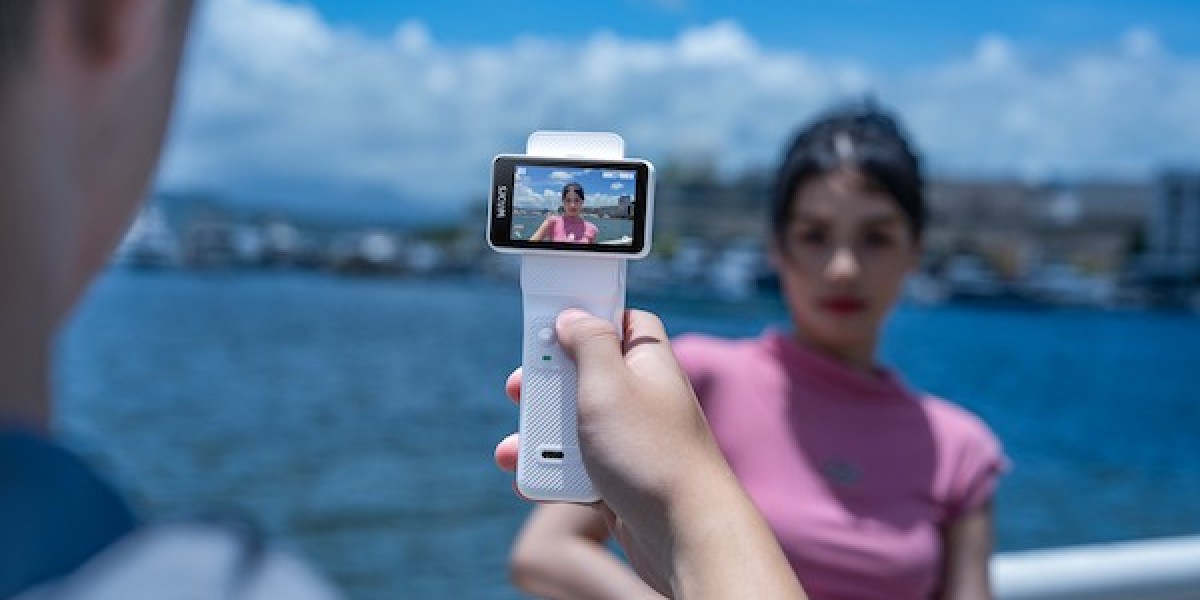

Finding the right sport camera can feel overwhelming. With dozens of brands, endless spec sheets, and prices ranging from $50 to $500, it’s easy to either overspend on features you’ll never use or buy something too cheap that disappoints you on your first adventure. This complete guide will walk you through everything you need to know to choose the best sport camera for your budget—without the guesswork.
Step 1: Define How You’ll Actually Use Your Sport Camera
Before you look at a single price tag, ask yourself one question: What will I actually film?
A sport camera for casual weekend hikes has very different requirements than one for professional motovlogging or deep-sea diving. Consider these common use cases:
- Vlogging and travel – You need good stabilization, decent audio, and a flip or front screen.
- Cycling and motorcycling – Long battery life, wind-noise reduction, and helmet mounts matter most.
- Diving and snorkeling – Waterproofing depth, color accuracy underwater, and anti-fog features are critical.
- Skiing and snowboarding – Cold-weather battery performance and image stabilization are key.
- Family and kids – Durability, ease of use, and price matter more than 5K resolution.
Write down your top two or three activities. This list will guide every decision that follows.
Step 2: Set a Realistic Budget (And Know What Each Tier Gets You)
Most shoppers fall into one of three budget tiers. Here’s what you can honestly expect from each:
Budget Tier: Under $150
- 4K video at 30fps (often interpolated)
- Basic electronic image stabilization
- Waterproof housing included
- Fewer accessories and simpler menus
Mid-Range Tier: $150–$300
- True 4K at 30–60fps
- Improved stabilization (gyro-based or gimbal-like)
- Better low-light performance
- Touchscreen controls and Wi-Fi app support
- Often includes a rich accessory kit
Premium Tier: $300+
- 5K or high-frame-rate 4K
- Advanced horizon lock and gimbal-grade stabilization
- Superior audio with wind reduction
- Premium build quality and brand ecosystem
Pro tip: Don’t stretch your budget just for a brand name. A well-chosen mid-range sport camera often outperforms a stripped-down premium model.
Step 3: Understand the Specs That Actually Matter
Marketing numbers can mislead. Here’s what to focus on instead:
Video Resolution
4K is the modern standard, but frame rate matters just as much. Look for 4K at 30fps minimum; 60fps is better for action sports where you want smooth slow motion.
Image Stabilization
This is the single most important feature for action footage. Electronic image stabilization (EIS) is standard; gyro-based stabilization is better. Without good stabilization, even 5K footage looks unwatchable on a bumpy trail.
Battery Life
Manufacturers often exaggerate. Look for real-world reviews. A sport camera that dies after 40 minutes is frustrating—aim for at least 60–90 minutes of actual recording, and buy spare batteries.
Waterproofing
Some cameras are waterproof without a case (typically to 10–33 feet); others require a housing. If you dive, check the rated depth carefully.
Audio Quality
Built-in mics struggle in wind. If audio matters to you, check whether the camera supports an external microphone.
Mounting System
Most cameras use GoPro-style mounts, which means universal accessory compatibility. This is a huge advantage when building your kit.
Step 4: Weigh Accessories and Ecosystem
A cheap sport camera with a generous accessory bundle often delivers better value than an expensive camera with nothing included. Look for packages that include:
- Waterproof housing
- Multiple mounts (helmet, handlebar, chest)
- Spare batteries and charger
- Carrying case
Also consider app support. A good companion app makes transferring and editing footage far easier.
Step 5: Read Real Reviews and Compare Sample Footage
Spec sheets lie; footage doesn’t. Before buying:
- Watch YouTube reviews with raw sample footage in conditions similar to yours.
- Check user reviews for battery, overheating, and durability complaints.
- Compare stabilization tests side by side.
Step 6: Match the Camera to Your Budget—Not the Hype
Here’s a simple decision framework:
- Under $100? Prioritize stabilization and waterproofing over resolution.
- $100–$200? You’re in the sweet spot for value—look for true 4K, gyro stabilization, and a full accessory kit.
- $200–$350? Expect excellent stabilization and strong low-light performance.
- $350+? You’re paying for ecosystem, audio, and pro-grade features. Only worth it if you’ll use them.
Our Top Recommendation: SJCAM C400 Pro
After walking through all these factors, one sport camera stands out for delivering premium features at a budget-friendly price: the SJCAM C400 Pro.
The C400 Pro is a versatile action camera built for everyday adventurers who want quality without overspending. It offers sharp video resolution, reliable image stabilization for smooth footage on the move, and a rugged, compact design that’s ready for travel, cycling, vlogging, and outdoor sports. With Wi-Fi connectivity, app control, and broad accessory compatibility, it’s easy to mount, shoot, and share—whether you’re a first-time buyer or upgrading from an older camera.
If you’re looking for the best value sport camera for your budget, the SJCAM C400 Pro is an excellent choice that balances performance, portability, and price.
Final Thoughts
Choosing the best sport camera for your budget comes down to three things: knowing how you’ll use it, understanding which specs actually matter, and avoiding the trap of paying for features you’ll never touch. Set your budget, prioritize stabilization and battery life, read real reviews—and consider the SJCAM C400 Pro as a smart, affordable option that won’t let you down on your next adventure.