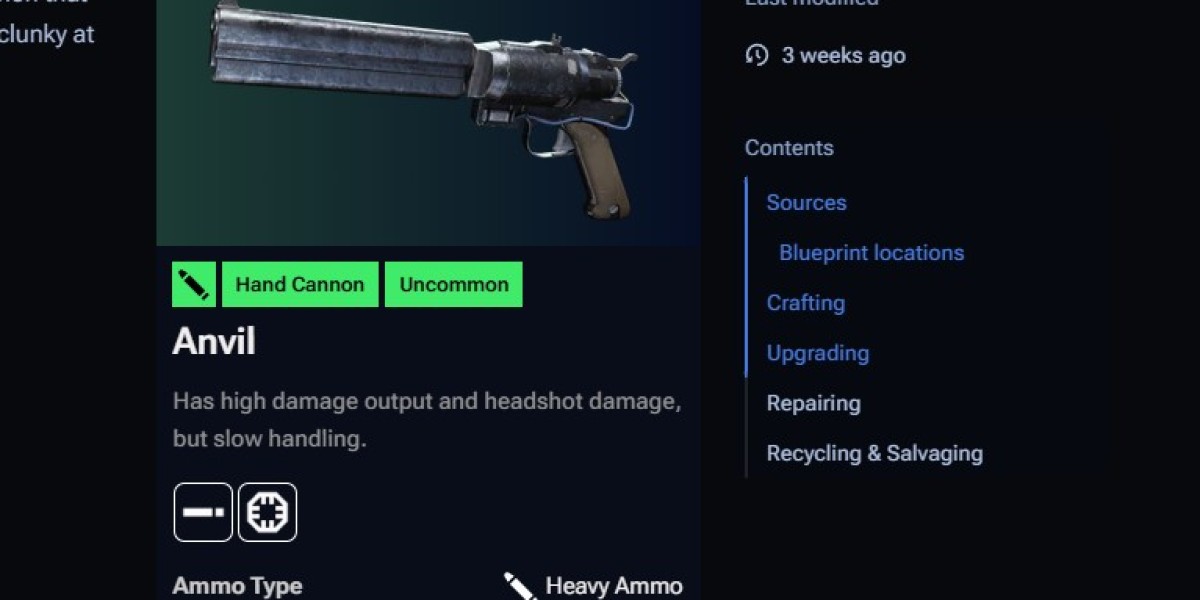
In ARC Raiders, the Anvil heavy pistol has slowly become one of those weapons that looks simple on paper but gets completely out of hand once you start stacking the right mods. A lot of players start experimenting after trying to buy arc raiders blueprints for mid-to-high tier attachments and realizing how much difference a single part can make in real fights.
The most talked-about combo right now is the Anvil Splitter paired with an Extended Barrel. Individually, they feel situational. Together, they turn the Anvil into something that can delete targets at ranges it normally shouldn’t even be comfortable at.
Attachment Breakdown (What Each One Actually Does)
The Anvil Splitter is the flashy part of the setup. It changes the weapon from a single heavy slug into a multi-pellet burst.
- Anvil Splitter (Legendary Mod)
Turns one high-damage shot into multiple pellets
If all pellets connect, total damage is roughly ~120% of base weapon damage
Downside: heavy spread + strong range reduction
In practice, it feels like a pocket shotgun version of a precision pistol. If you miss even slightly, your damage drops off hard.
- Extended Barrel (High-tier Mod)
Improves bullet velocity
Extends falloff range
Example: higher tiers can give around +30% velocity and +15% effective range
On paper, these two don’t look like they belong together. One shortens range. The other extends it. That’s exactly why the combo works.
Why the Combo Actually Works (Not Just Theory)
1. Range “recovery” makes Splitter playable
Without the barrel, the Splitter basically forces you into point-blank fights. You’re gambling every engagement.
When you add the Extended Barrel, the weapon doesn’t become long-range—it just becomes usable at mid-range. That difference matters a lot in real PvP.
A typical engagement example:
- Base Splitter effective kill zone: ~5–8 meters
- With Extended Barrel: ~10–15 meters reliable
That’s almost double the usable space, which changes how you position in fights.
2. Velocity reduces pellet spread loss
This is the part most players don’t think about.
Higher bullet velocity means:
- pellets reach the target faster
- less time to “fan out” mid-air
- tighter grouping over distance
So instead of a chaotic spread, you get a more concentrated burst even at mid-range.
3. Shield break interaction (huge in PvP)
In real fights, shields are where this combo shines.
Because damage is applied per pellet:
- First few pellets can break shields instantly
- Remaining pellets spill into health damage
Example scenario:
A player with a mid-tier shield (~100–120 effective HP) gets hit:
- 4–5 pellets break shield instantly
- remaining pellets land directly on HP
- result: near-instant down if aimed at upper torso/head
This is why people call it a “burst delete” weapon when it works.
4. Rocketeer disruption (community favorite use case)
One of the most consistent use cases is hunting ARC Rocketeers.
With this setup:
- pellet impact causes strong stagger/knockback
- rockets can misfire or veer off trajectory
- follow-up shots can break propulsion parts quickly
A common fight flow looks like:
- First shot interrupts rocket volley
- Second shot hits thruster cluster
- Third shot finishes mobility, forcing a drop
Even players who normally avoid Rocketeers start taking them on once they get consistent with timing.
Mid-Progression Reality Check (Where This Setup Fits)
This combo is not early-game friendly. Most players only start experimenting with it after they’ve already progressed enough to think about economy and crafting paths.
At that point, many are also actively looking into trading routes, and even browsing markets related to U4N while trying to figure out whether it’s worth it to expand their loadout or chase specific builds instead of random drops.
Some players even end up backtracking progression decisions, especially after trying to buy arc raiders blueprints and realizing how RNG-heavy attachment acquisition can be.
Case Study: Close-Mid Range Fight Example
Here’s a simple real-use scenario:
Location: tight industrial corridor
Enemy: medium armor + shield
Distance: ~12 meters
Without combo:
- Splitter misses consistency past 8–10m
- damage drops due to spread
- enemy survives and counter-peeks
With Splitter + Extended Barrel:
- first shot lands 6/8 pellets
- shield breaks instantly
- second shot lands full pellet cluster
- total time-to-kill: ~1.5–2 seconds
That’s the real difference: not just damage, but control of tempo.
Finding the Right Parts
The biggest problem isn’t usage—it’s actually getting the parts.
- Splitter: high-tier loot zones, limited drop pool, often RNG-heavy
- Extended Barrel: craftable at low tier, but higher versions require rare blueprint drops
Most players end up farming residential zones or locked containers because that’s where mod blueprints tend to appear more often in higher difficulty conditions.
The Anvil Splitter + Extended Barrel combo isn’t just a “meta build” because of raw damage. It works because it fixes the Splitter’s biggest weakness—range inconsistency—without removing its identity as a burst weapon.
It’s not perfect. It still punishes bad aim and overconfidence. But in the hands of a player who understands spacing and timing, it turns the Anvil into one of the most reliable mid-range duel tools in ARC Raiders right now.